

Garden lighting maintenance
Caring for, checking and correctly aligning your lights
Compiled by our master gardeners · Last updated: July 2026
To print and file away – free to download.
Well-planned garden lighting showcases trees, walls and paths and makes the garden usable in the evening too. The technology is low-maintenance, but not maintenance-free: dirt, weather and growing plants change both the lighting effect and operational safety over the years. One or two checks a year are usually enough.
Cleaning the lights
Dirty glass and covers absorb a surprising amount of light. Clean the glass and reflectors of your lights once or twice a year with a soft cloth, water and a mild cleaner – no abrasive cleaners, as they scratch glass and plastic. For in-ground lights, also remove leaves, soil and grit from the cover so that moisture cannot build up and the glass does not overheat. Limescale marks from sprinkler water can be removed with standard glass cleaners.
Checking cables, connectors and housings
While cleaning, check the condition of the system at the same time:
- Are the lights and ground spikes firmly in place and still upright?
- Are housings, seals and glass undamaged? Misted glass points to a faulty seal.
- Are visible cable sections and connectors intact – no chafing, no exposed wires?
- Are buried cables running where you plan to dig or plant? Keep the cable route in mind before any planting work.
Bulbs and LEDs
Modern systems work almost exclusively with LEDs. Many lights have built-in LED modules with a very long service life – if one fails, it is replaced as a complete unit, depending on the design; always follow the manufacturer’s instructions here. For lights with a replaceable bulb, make sure the replacement has the same voltage, fitting and light colour so that the lighting stays uniform. A flickering or failed section can also be down to the transformer or a connector – the bulb is not always to blame.
Realigning as plants grow
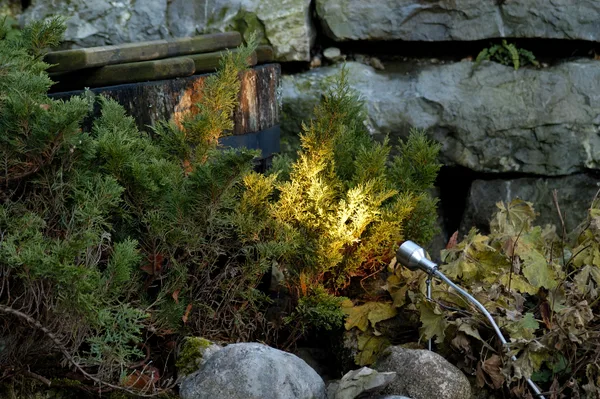
The garden grows – the lighting stays where it is. A spotlight that lit a young serviceberry perfectly three years ago may now only reach the lower crown. Check the lighting effect once a year after dark: readjust spotlights, cut back lights that have become overgrown and check that the light stays free of glare – also with your neighbours and the street in mind. The same check is worthwhile after pruning or new planting.
Controls and operating times
Check dusk sensors and timers from time to time and adjust them after the clocks change. Shorter lighting times save electricity and benefit insects and other nocturnal animals: light the garden selectively and only for as long as it is actually in use. Warm white light is more tolerable for wildlife than cool white light.

Answers about garden lighting
How often do I need to clean my garden lights?
A light has misted up inside – is that a problem?
Can I simply replace failed LEDs myself?
Why does my lighting no longer look the way it did at the start?
Let's talk about your project
We are happy to advise you in person, with no obligation.
Request a consultation